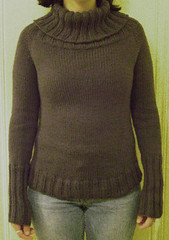
thank you thank you thank you everyone for all of the kind congratulations! we're excited to throw one smashing party with our family and friends come spring - and expect a few DIY projects along the way!
but we've got a few months to go so today, instead, let's look at how to make goodale 100% seamless - because if you've got a top-down raglan, why any seams at all? pattern instructions tell you to tack down and sew the bottom pockets together when all's said and done, but i say why not, dear readers, graft as you go?
here's what you'll need to do it the marri way:
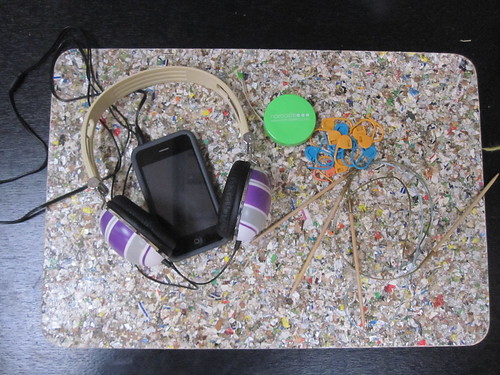
-copious amounts of stitch markers
-an extra circ or two of the same needle size or a bit smaller
-a measuring tape
-ipod and headphones with the return of
cast on loaded and ready to go!
we're starting just before the seven rows of 1x1 rib, just about to work the next row on the RS. first, measure off your 2" or so up at the collar and fold it over as the pattern instructs. pin it down, baby!
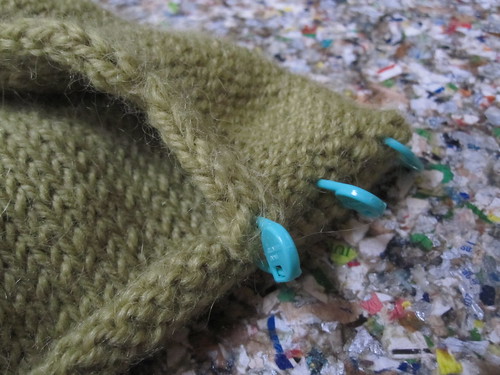
next, measure off your 5.25" on the bottom, and place a stitch marker where it ends - this will be your fold line. count the number of stitches from the beginning of your work to the stitch marker (for me, it was 30). then place a second marker that number of stitches away from the first. (if your ribbing tends to be tight, you might want to measure off an extra inch or so to make up for the gathering that will occur. i'm going to do twisted rib so it didn't much matter here for me.)
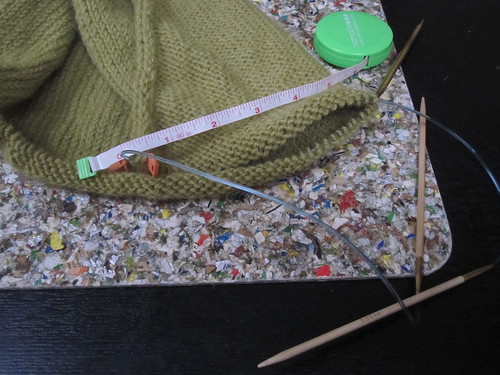
take all the stitches between the beginning of your work and the first marker and transfer them over to one of your spare circulars. fold your sweater over at the junction between your two circs, so that the beginning of the work matches up to the second marker like above with your "pocket" on top. re-measure and make sure your pocket is the size you want! and go ahead and do all of the above on the other end of your work, because you'll want two pockets, right?
now the scary part:

cut your tail. go ahead and do it. it's not the end of the world. just be sure to leave a good 6" or so to secure and weave in later.
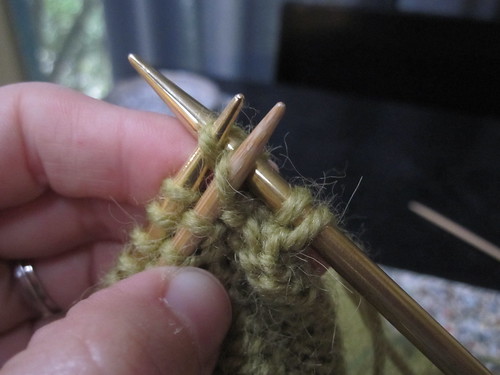
that fold line is now the beginning of your work and there should be not one but
two needles peeking out, one from each circ. go ahead and pick 'em up in your left hand. go ahead and pick the other end of your main circ up in your right hand. and then go ahead and knit those two first stitches - one from the front needle, and one from the back - together, starting with the front stitch. if you're like me and hate 1x1 ribbing but love 1x1 twisted rib, knit them together through the back loop instead.

next stitch? purl the front and back stitch together, inserting your needle into the back stitch first, and then the front.
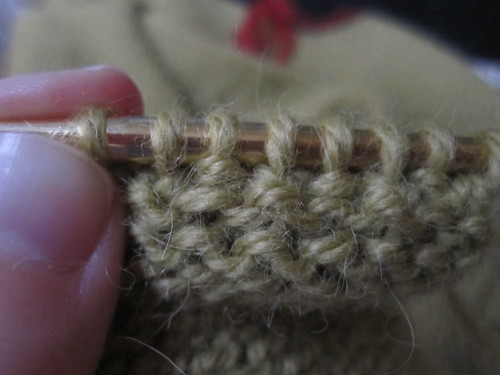
keep a'goin - k1, p1 (or k1tbl, p1) - until you get to the next marker. simply go back to the top of these instructions and repeat for the second pocket.
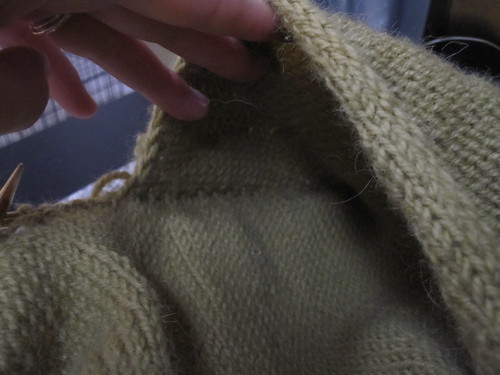
look, a pocket!
then just finish up the last six rows of ribbing and you're done! you could graft on the bind-off row instead of your first row of ribbing if you'd like the pockets to extend all the way to the bottom of your sweater, but because i was going with the twisted ribbing and am lazy - i didn't want to do the "through the back loop" thing for every stitch - i chose to do it this way. to each his or her own - that's what i love about this crazy knitting thing!
now on to the sleeves and collar!
(this mid-weekday post brought to you by the fact that i'm home with some sort of mean stomach bug which no amount of mint tea or kitten purrs can kick.)

