so
this week's challenge was to make a coffee cup cozy. you'd think: right up my alley. right? wrong. problem is, my coffee cups all have those silicone rings that prevent you from burning your hand in the first place. a cozy - completely unnecessary. what to do, what to do.
then i realized that my cup was in fact missing something
very important: a dry-erase board.
oh yes.
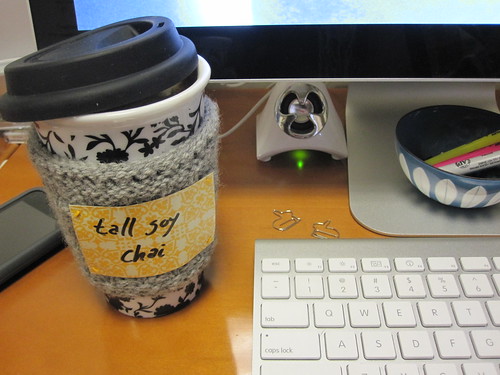
my office has a starbucks on the premises. this is a good thing and a bad thing. bad thing: pricey. good thing: an excuse to get some air and take a quick mental break with colleagues. often, the good thing wins over bad - good triumphs over evil, right? right. so a while back i picked up a couple of
reusable coffee cups because i try to be a responsible, thoughtful gal and all those wasted paper cups were really quite appalling. plus: you get 10 cents back every time you use one at the good 'ole starbucks.
but i was always bothered by the fact that my friendly neighborhood barista still stuck a little pre-printed paper post-it on my ceramic cup to write down my order. wasteful, wasteful.
and hence, the coffee cup dry-erase board was born. and it is simple and easy, and you probably have the stuff in your house to make your own - you know, now that you have your own handmade coffee cozy.
or even if you don't.
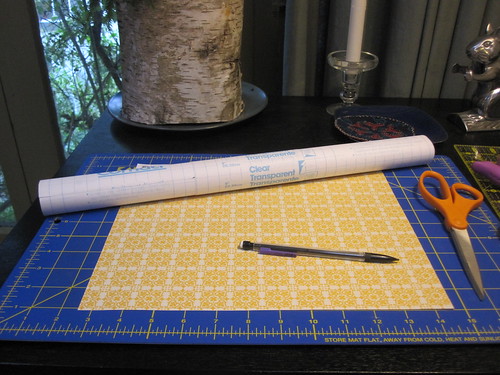
here's what you need:
 materials
-clear contact paper
-some nice decorative paper (or plain - really, up to you but why be boring?)
-scissors (do you own
teflon-coated scissors? why not?! go get some. will save your sanity every single day, promise!) or a rotary cutter
-a ruler (unless you're really good at eyeballing & cutting straight)
-either thread for sewing on to your cozy or ribbon to tie around your cup
oh, and some dry erase markers will come in handy later. don't forget those.
step one: first, decide what size you want your dry-erase board to be. measure and cut the pretty paper accordingly. (mine's about 2"x3".)
 step two:
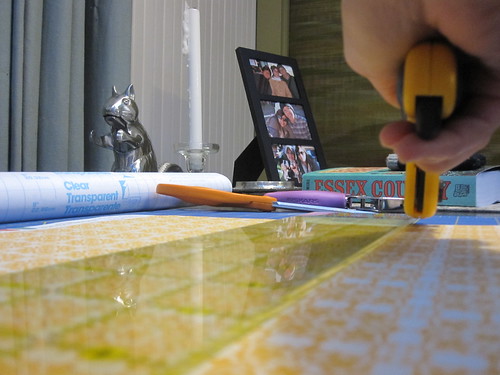
 measure and cut two rectangles of contact paper - one that's one inch taller and wider than your piece of paper, and one that's just a bit smaller than your piece of paper.
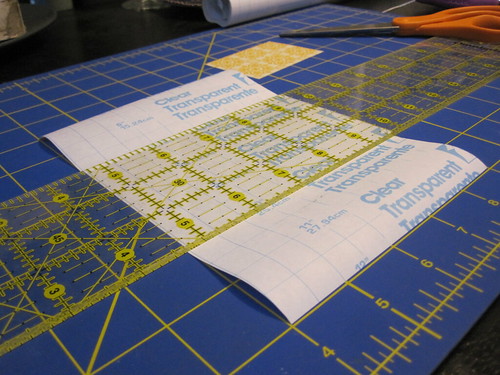 step three:
 put your pretty paper upside down (note the scribble lines from
my bunting project - no shame here, i like to use scraps!). take the smaller piece of contact paper and put it on the back - it won't quite touch the edges.
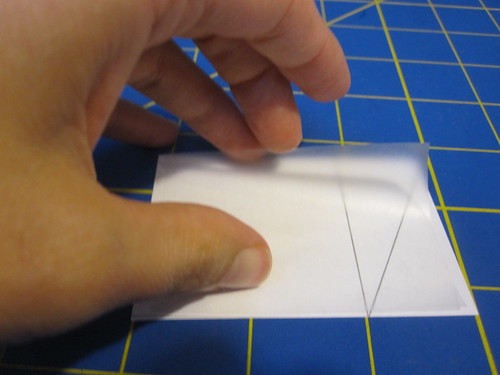 step four:
 turn the paper over and center the larger piece of contact paper over it, smoothing out any bubbles as you go. (it helps here to have a non-stick surface like a cutting mat!) you'll have about half an inch of contact paper all around - so trim each corner off!
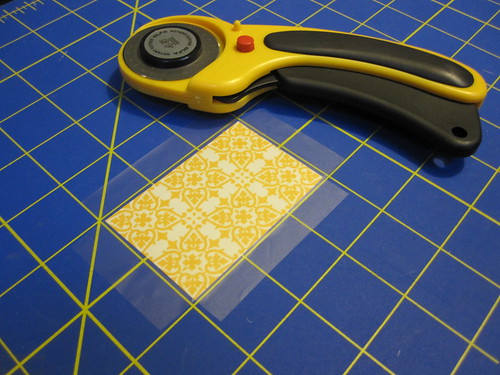 step five:
 flip it over again and fold over the edges of the contact paper. (because you trimmed the corners off, the edges will be nice and neat!)
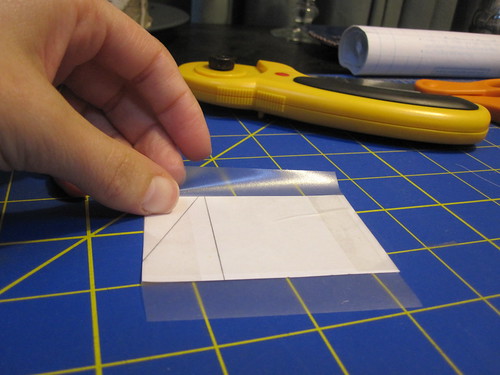 step six:
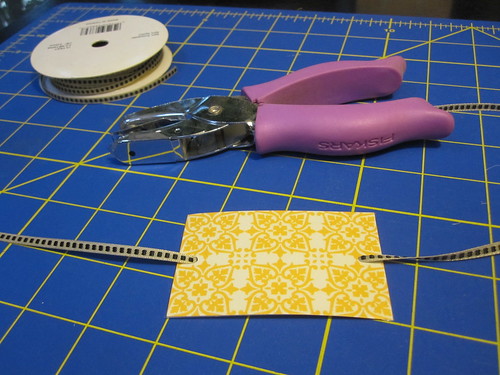
 punch holes and thread through yarn or ribbon, or simply sew onto your cozy.
 step seven:
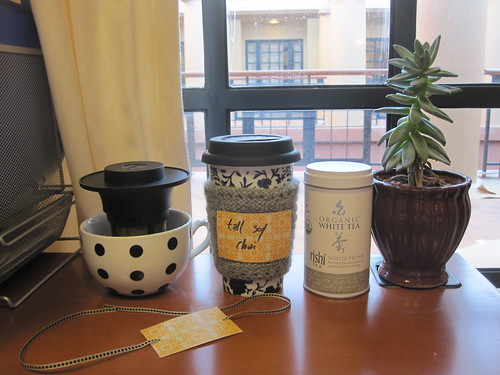
 write on your dry-erase board with a dry-erase marker and wa-la!
 step eight:
 surreptitiously photograph your cup in line at your local coffee house but be too shy to
kinnear the random celeb from LOST you pass on your way back.
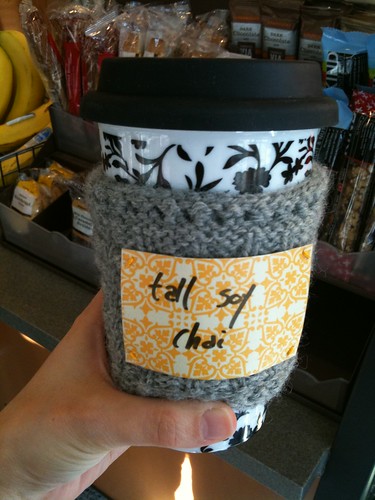
no more wasted paper at starbucks. you have beaten the system. congrats to you and yours.
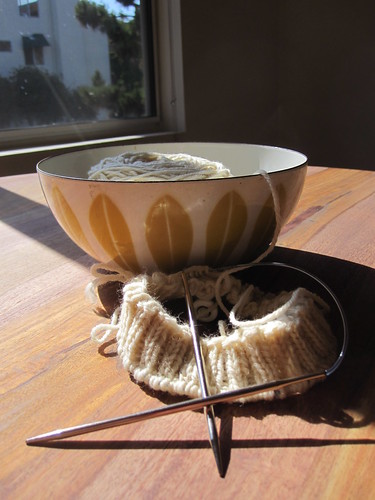
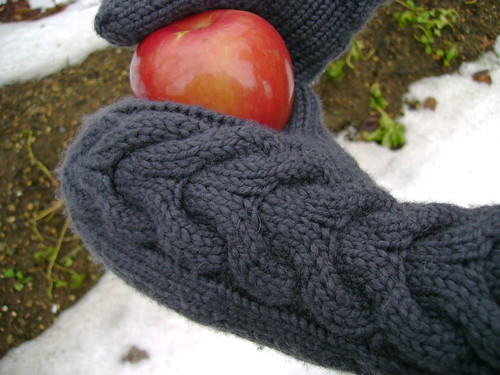
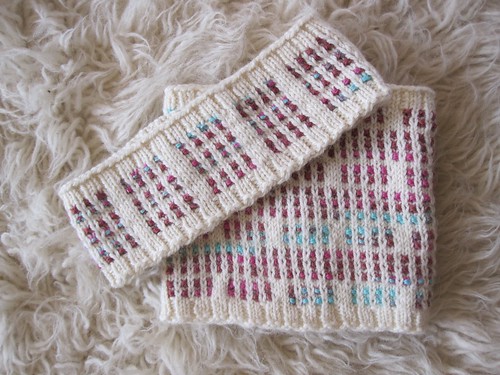
and oh yeah: i knit a cozy. since that was the actual challenge, after all!
